Preparation tips
Preparing the 3D file is a key step to ensure your object prints correctly. If you want to model your object yourself, you will find a few simple rules below to avoid problems (we also offer a 3D modeling service).
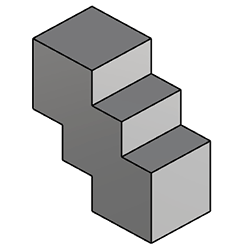
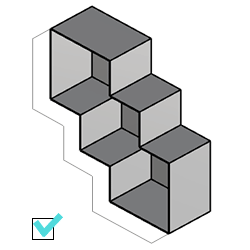
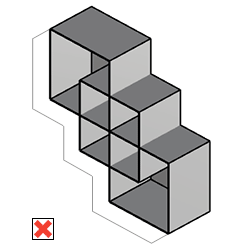
1. A single closed solid volume
Whatever the complexity of your object, you must merge all volumes into one closed solid volume. When assembling several objects, this is called a Boolean union. There is no need to create groups of multiple objects or components: the object must be made of a single outer surface, even if complex. If you work with meshes, use one single mesh.
2. Export the file in .stl ASCII format
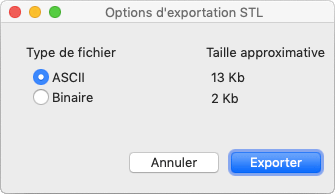
Depending on your modeling software, export your object as an .stl ASCII file (not binary). The .stl ASCII file is the universal format for 3D printing and ensures 100% compatibility with machines. Binary format is not recommended: it is a compressed version that can often cause interpretation issues.
3. Accepted minimum dimensions
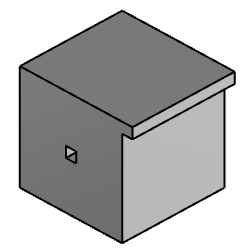
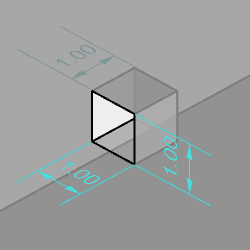
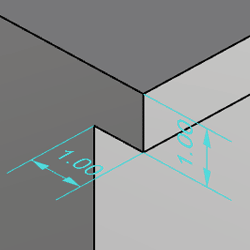
We recommend that clients do not go below 1 mm in any direction.
4. Accepted maximum dimensions (up to 1 m3!)
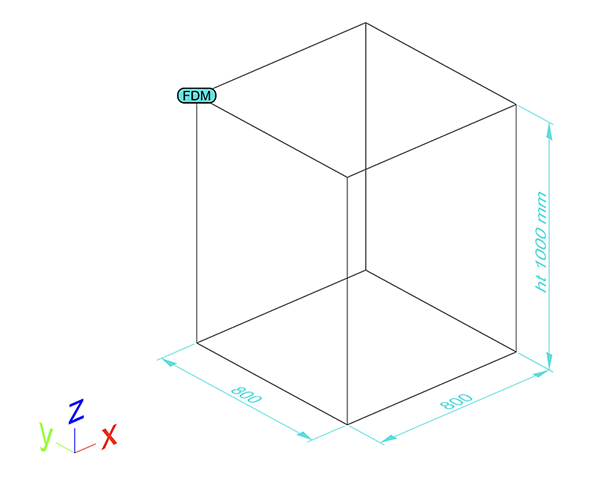
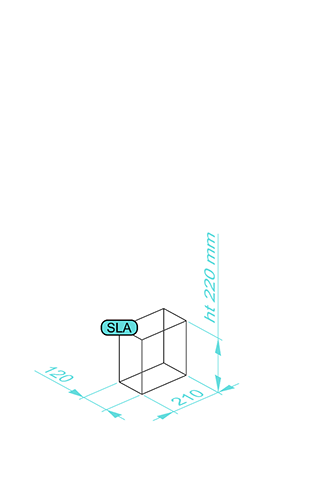
Our large-format machines have a maximum build volume of 800 x 800 x height 1000 mm (approx. 1 m3) in FDM fused filament deposition (PLA, PETG, ABS, ASA, PVA, ...). In SLA resin, our build volume is limited to 215 x 120 x height 220 mm. Keep this in mind when preparing your files: larger parts must be split into several pieces that fit these build volumes. They can then be assembled into a single object after printing, with joints treated to make them disappear.
5. Place all objects on level 0
When you place several objects in the same 3D .stl file, make sure they are all positioned on level 0 of the z axis. If an object is higher, for example, unnecessary supports will be printed by the machine to compensate for the height difference.
