Preparation tips
Preparing the laser file is a key step. If you want to design your file yourself, you will find a few simple rules below to avoid problems (we also offer a laser design service on request).
1. Use our available templates
Use one of the templates available to you for the best result: Illustrator (.ai), Rhinoceros 3D (.3dm) or AutoCAD (.dwg). Inside, you will find the layers and explanations needed for successful cuts and engravings.
Click the file icon that matches your workflow to download your template:
Each template contains 3 layers in RGB colors, where you should place your objects:
2. Draw closed polylines
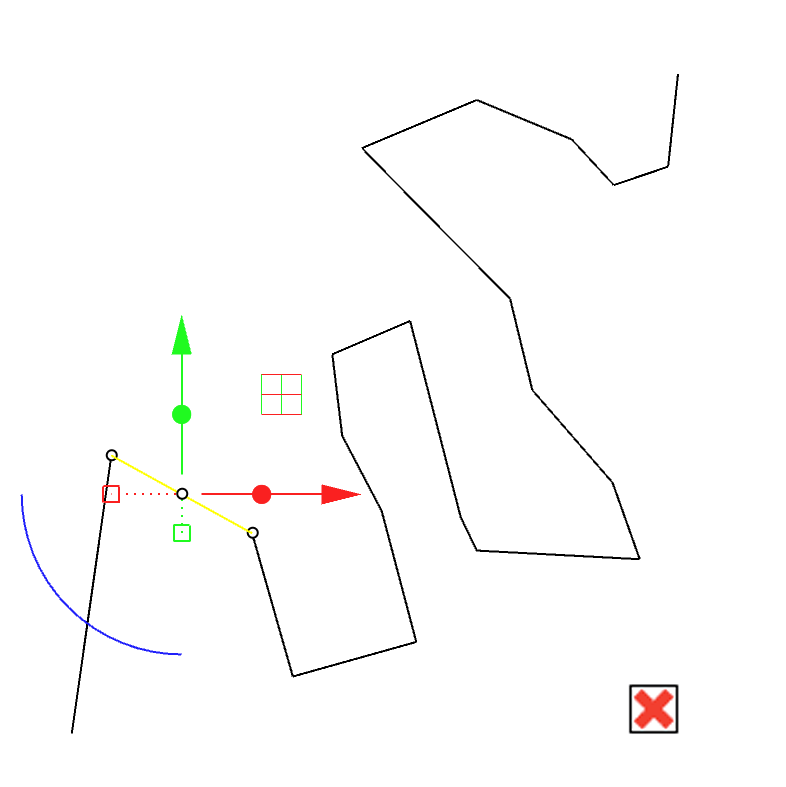
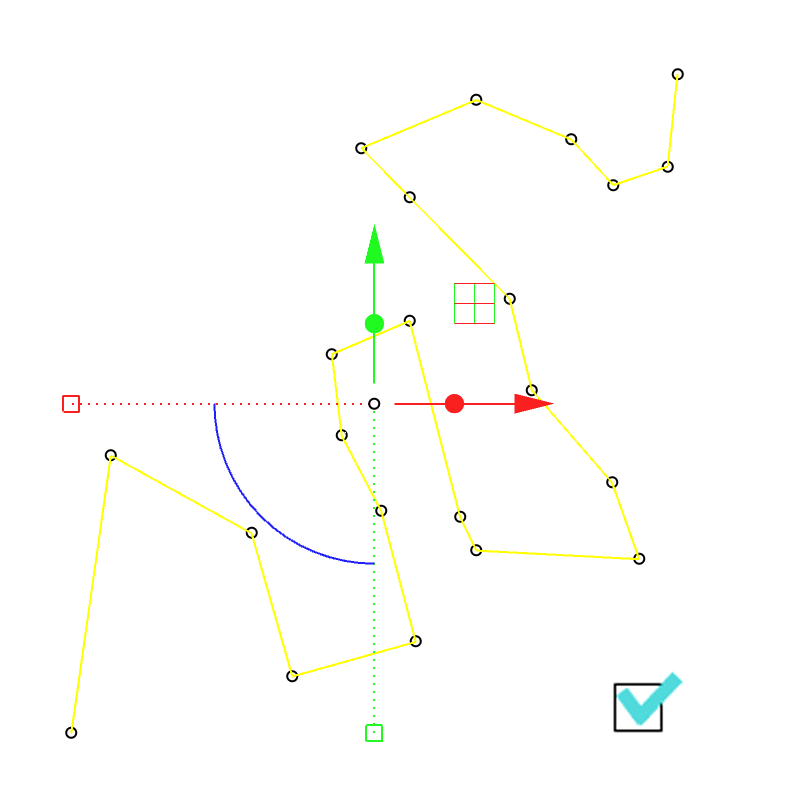
To optimize the laser travel paths, you must join all vectors that make up a shape. If a path is split into several segments, the laser may leave small marks or jolts. If the path is continuous, the laser moves more smoothly and the result is cleaner and more precise.
3. Outline text
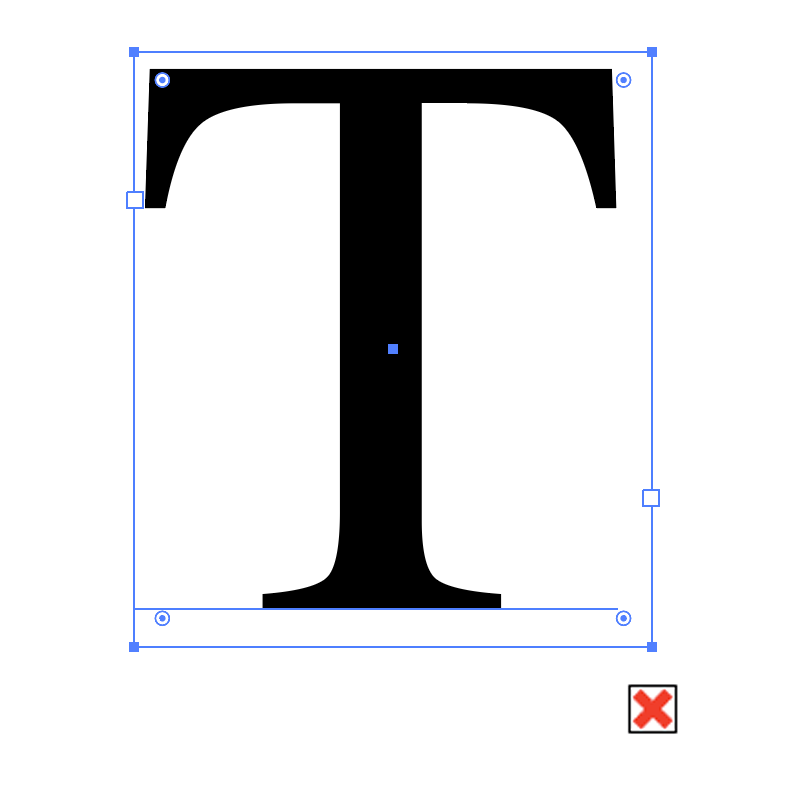
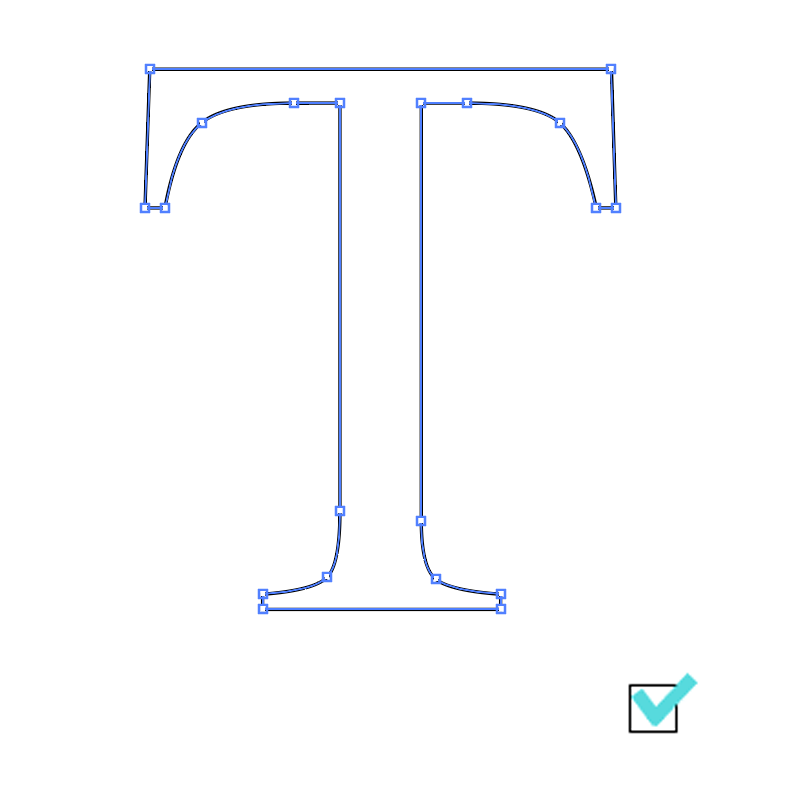
To avoid font embedding issues, please outline / explode text so that only its contour vectors remain, as shown in the example below:
4. Check that there are no overlapping lines
Remember that each polyline means one laser pass. If your file contains overlapping vectors or lines, remove them, otherwise the laser will burn the same area several times. Click the highlighted command name below to open the corresponding tutorial:
- In Rhinoceros 3D, you can use the _seldup command in the command bar to select and delete overlapping lines.
- In AutoCAD, you can use the _overkill command in the same way for an equivalent result.
5. Accepted minimum dimensions
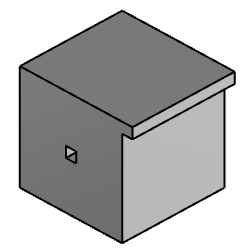
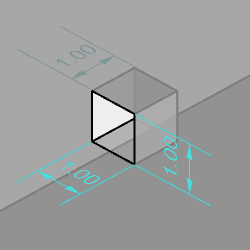
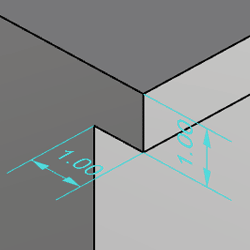
For cutting, we recommend that clients do not go below 1 mm in any direction.
6. Accepted maximum dimensions:
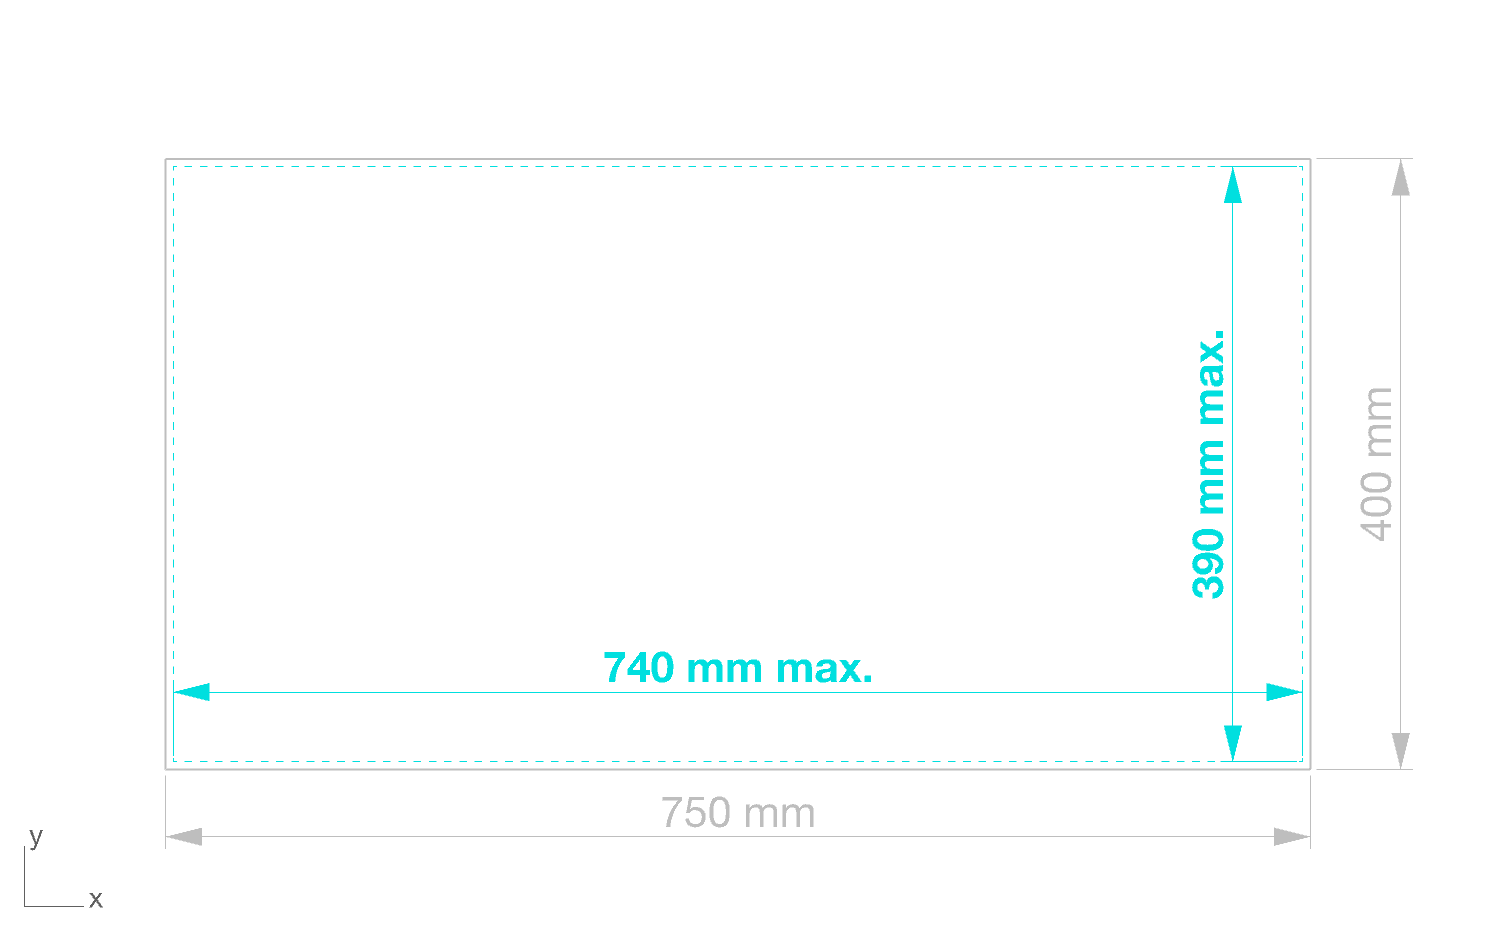
Our machines have a maximum bed size of 750 x 400 mm for laser cutting and engraving. These are the dimensions of the laser stops; we recommend keeping an approx. 5 mm peripheral safety margin for maximum part quality (this safety margin is drawn in our templates above). This means a 740 x 390 mm maximum usable size per part to be cut.
To let you work with standard commercial sheet sizes, we can load material sheets up to 800 x 1,200 mm into our machines, while keeping in mind the maximum per-part limit of 740 x 390 mm.